Easy Pickled Red Onions- Quick & Flavorful Recipe
Pickled red onions are an absolute game-changer in my kitchen, and I’m so excited to share this incredibly simple yet transformative recipe with you. If you’ve ever enjoyed that vibrant pop of pink and tangy crunch on tacos, avocado toast, or even a humble burger, you’ve likely encountered the magic of pickled red onions. What makes them so special? It’s their ability to elevate any dish from ordinary to extraordinary with just a few minutes of prep. They offer a beautiful visual appeal with their jewel-toned hue and a delightful balance of sweet and sour that cuts through richness and adds a refreshing zing. Forget those store-bought versions that can be overly sweet or mushy; making your own pickled red onions is surprisingly easy and allows you to control the flavor profile perfectly. Get ready to discover why these quick pickles are a staple for so many home cooks!
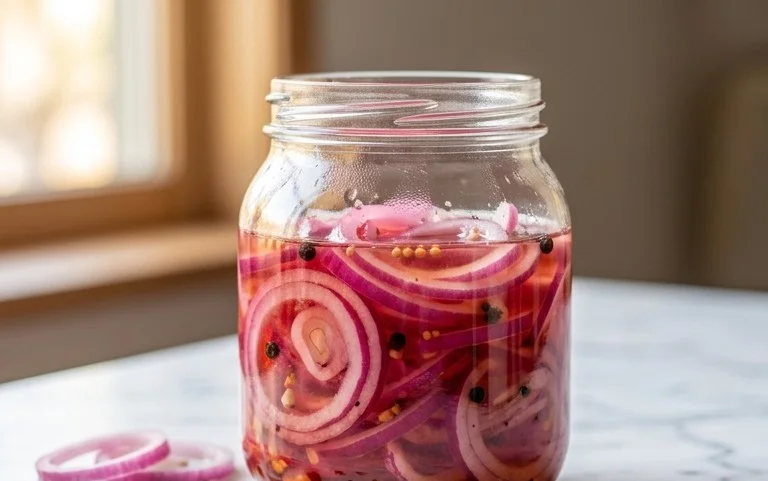
Ingredients:
Pickled Red Onions: The Vibrant Condiment That Elevates Everything
There are some kitchen staples that, once you discover them, you wonder how you ever lived without. For me, pickled red onions are absolutely one of those things. They are incredibly simple to make, yet they possess a magical ability to transform even the most ordinary dish into something truly special. That brilliant, jewel-toned pink hue is a feast for the eyes, and the tangy, slightly sweet, and wonderfully crisp bite is a flavor explosion that cuts through richness, adds a bright contrast, and brings a delightful zing to practically anything.
Think about your favorite tacos, your best grilled cheese sandwich, a hearty salad, or even just a simple avocado toast. Now, imagin extracte topping them with a generous helping of these vibrant, quick-pickled red onions. The transformation is immediate and undeniable. They add a refreshing acidity that balances out fatty or savory flavors, a touch of sweetness to round things out, and a satisfying crunch that elevates the overall texture. They are surprisingly versatile and can be used in so many ways, making them a go-to condiment for busy weeknights and a secret weapon for impressing guests.
The beauty of this recipe lies in its simplicity. You likely have most of the ingredients in your pantry right now. The process is straightforward, requiring minimal hands-on time, and the results are incredibly rewarding. Within an hour or so, you’ll have a jar of these beauties ready to grace your meals. I love making a batch at the begin extractning of the week and keeping them in the refrigerator. They truly are a game-changer, and I find myself reaching for them time and time again.
Let’s dive into how you can easily create this fantastic condiment in your own kitchen. It’s a process that’s as satisfying to watch as it is to eat!
Gathering Your Ingredients
Before we begin extract the magic, let’s ensure we have everything we need. The beauty of this recipe is its minimal ingredient list, allowing the star – the red onion – to truly shine.
Preparing the Onions
The first step in creating our vibrant pickled red onions is to prepare the star ingredient.
Creating the Pickling Brine
Now, we’ll create the flavorful liquid that will transform our raw onions.
The Pickling Process
This is where the magic truly happens, as the raw onions meet their flavorful destiny.
Cooling and Infusing
Patience is key at this stage, allowing the flavors to develop.
Storage and Enjoyment
Your delicious pickled onions are almost ready to be devoured!
Enjoy your homemade pickled red onions on tacos, salads, sandwiches, burgers, or any dish that needs a bright, flavorful punch!
Conclusion:
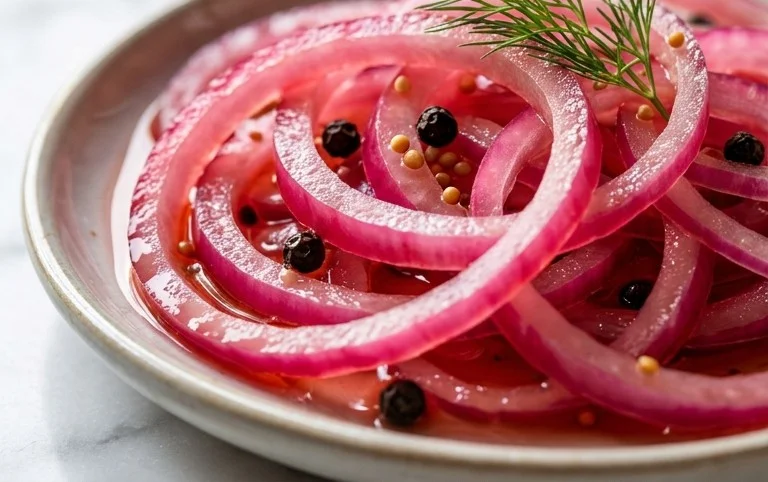
There you have it – your guide to making quick and vibrant pickled red onions! This recipe is truly a kitchen hero because it’s incredibly simple to whip up, requiring minimal ingredients and almost no active time. The result? A burst of tangy, slightly sweet, and beautifully crimson goodness that elevates everything it touches. These pickled red onions are not just a garnish; they’re a flavor enhancer that adds complexity and visual appeal to your meals. I encourage you to try this recipe; you’ll be amazed at how often you reach for this versatile condiment.
The serving possibilities are practically endless! Pile them onto tacos, burgers, sandwiches, and avocado toast. Stir them into salads, grain bowls, or even your favorite dips. They’re also a fantastic addition to charcuterie boards and as a side for grilled meats and fish. Don’t be afraid to experiment! You can adjust the sugar and vinegar ratios to suit your taste preference, or even add a pinch of chili flakes for a little heat.
Frequently Asked Questions:
How long do pickled red onions last?
When stored in an airtight container in the refrigerator, your pickled red onions can last for up to two to three weeks. They tend to become even more flavorful as they sit, so don’t hesitate to make a big batch!
Can I use different vinegars?
Absolutely! While white vinegar is common, apple cider vinegar or red grape juice vinegar will also work wonderfully and offer slightly different flavor profiles. Experiment to find your favorite!
What if I don’t have sugar?
You can substitute the sugar with other sweeteners like honey or maple syrup, though this might alter the color slightly and add a distinct flavor. Adjust the amount as needed, as these sweeteners can be sweeter than granulated sugar.
Pickled Red Onions
Quick and easy pickled red onions, perfect for adding a tangy and colorful kick to tacos, sandwiches, salads, and more.
Ingredients
-
1 large Red onion, thinly sliced
-
1 cup White Vinegar
-
1 cup Water
-
1 tablespoon Sugar
-
2 teaspoons Kosher salt
-
1/4 teaspoon Black Peppercorns
-
1 Bay Leaf
Instructions
-
Step 1
Thinly slice the red onion. -
Step 2
In a small saucepan, combine the white vinegar, water, sugar, and kosher salt. Stir until the sugar and salt are dissolved. -
Step 3
Add the black peppercorns and bay leaf to the liquid. -
Step 4
Bring the mixture to a simmer over medium heat. -
Step 5
Place the sliced red onion into a heatproof jar or bowl. -
Step 6
Pour the hot pickling liquid over the sliced onions, ensuring they are fully submerged. -
Step 7
Let the onions cool to room temperature, then cover and refrigerate for at least 30 minutes before serving. They will turn a vibrant pink color.
Important Information
Nutrition Facts (Per Serving)
It is important to consider this information as approximate and not to use it as definitive health advice.
Allergy Information
Please check ingredients for potential allergens and consult a health professional if in doubt.