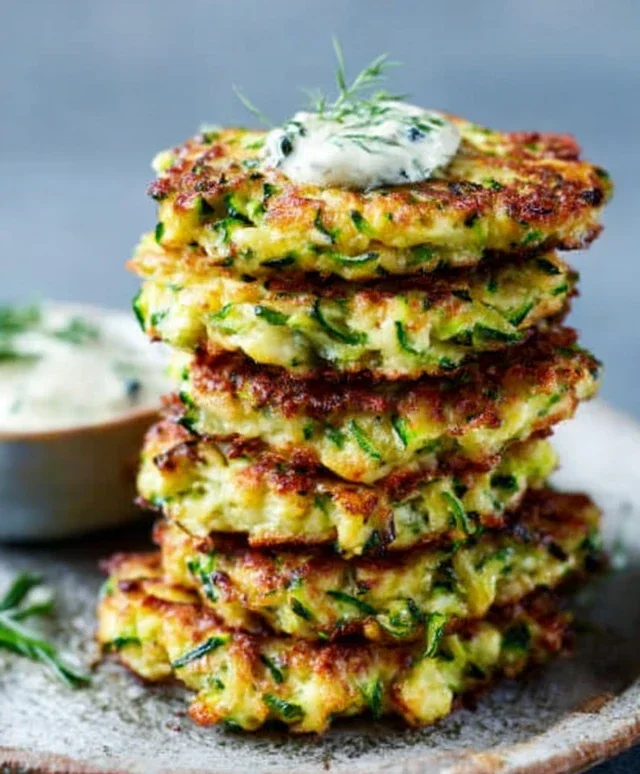
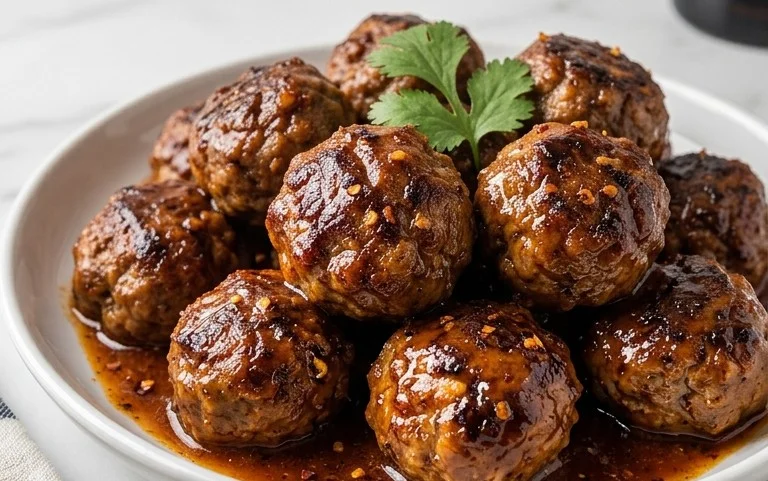
4th of July Party-Wow Guests With Easy Recipes
Wow Your 4th Of July Party Guests, One Pin At A Time with these show-stopping skewers! As the summer sun blazes and the anticnon-alcoholic ipation for fireworks builds, there’s one culinary trend that’s taking the party scene by storm: impressive, flavorful, and downright delightful skewers. Forget the same old burgers and hot dogs; we’re talking about elevating your backyard barbecue game to an art form. People absolutely adore these because they’re not just food, they’re edible masterpieces that are incredibly fun to assemble and even more fun to devour. What makes them truly special is their versatility and the ability to pack a punch of flavor and color in every single bite. Imagin extracte vibrant ingredients artfully arranged, offering a burst of freshness and taste with every single pin. Get ready to be the culinary hero of the holiday!

Ingredients:
Get Ready to Wow Your Guests!
This 4th of July, forget the same old chips and dip. We’re going to create something truly spectacular, something that will have your guests marveling at your culinary (and mixology!) prowess. And the best part? It’s surprisingly easy to pull off, and the results are incredibly impressive. Today, we’re diving into the world of patriotic Jello shots, with a twist that’s both visually stunning and deliciously fun. We’re talking about vibrant, boozy, berry-blue delights that are perfect for a summer celebration. These aren’t just any Jello shots; they’re designed to be a conversation starter, a fun treat, and a guaranteed hit at your backyard bash. Get ready to impress, one sip at a time!
Crafting Your Red, White, and Blue Masterpieces
The key to these dazzling Jello shots is layering. We’ll create a base layer of brilliant blue, and then, with a little patience and a lot of fun, we’ll add a creamy white layer. This visual contrast is what makes them so eye-catching and perfect for the 4th of July theme. It’s a simple technique, but it elevates a basic Jello shot into something truly special.
Step 1: Prepare the Blue Layer Base
First things first, let’s get our blue layer ready. In a heatproof bowl, combine the contents of your 3-ounce box of Berry Blue Jello mix with 1 cup of boiling water. Stir this mixture thoroughly for at least two minutes, or until all the Jello crystals have completely dissolved. This step is crucial for ensuring a smooth, firm Jello texture later on. If you see any undissolved granules, keep stirring! Next, add ½ cup of cold water to the dissolved Jello mixture. Stir again until everything is well combined. Now, the exciting part: it’s time to add our UV Blue Raspberry vodka extract extract. Pour in the ½ cup of UV Blue Raspberry vodka extract extract and give it a final, gentle stir. You want to incorporate the vodka extract without creating too many bubbles, as this can affect the clarity of your Jello.
Step 2: Portioning and Chilling the Blue Layer
Now that your blue Jello mixture is ready, it’s time to portion it into your Jello shot cups. You can use standard plastic Jello shot cups with lids, or even small paper cups if you prefer. Fill each cup about halfway with the blue Jello mixture. A little tip here: you can use a small pitcher with a spout to make pouring easier and cleaner. Once your cups are filled, place them carefully on a tray. You’ll want to chill these for at least 45 minutes to an hour, or until the blue layer is firm enough to support a second layer without the colors bleeding together. You’re looking for a slightly jiggly, but set consistency. Don’t rush this step; patience is key for a clean layer separation.
Step 3: Preparing the Creamy White Layer
While your blue layer is chilling, let’s get our creamy white layer ready. This layer is what will give your Jello shots that beautiful patriotic contrast. In a separate bowl, combine a pre-made sweetened condensed milk mixture or a simple mixture of sweetened condensed milk and a touch of cream cheese for extra tang and firmness. For a quicker option, you can use a can of sweetened condensed milk and whip it with a tablespoon of sour cream or Greek yogurt for a tangy, creamy base. If you’re feeling adventurous and want a slightly boozy white layer as well, you can add a splash of white rum extract or even a few drops of clear vanilla extract. The goal is a smooth, pourable consistency that’s thicker than regular Jello but still liquid enough to pour over the blue layer.
Step 4: Adding the White Layer and Chilling
Once your blue Jello layer has set, it’s time to add the white layer. Gently spoon or pour the white mixture over the set blue layer. Again, a pitcher with a spout will be your best friend here for a neat pour. Be careful not to disturb the blue layer too much. Fill each cup almost to the top, leaving a little space for any optional garnishes. Now, it’s back to the refrigerator! Chill these layered Jello shots for at least another 2-3 hours, or until they are completely firm. You want them to be solid enough to hold their shape when you unmold them (if you choose to do so) or to be easily picked up by the cup.
Step 5: The Grand Reveal and Serving
Once your Jello shots are fully set, it’s time for the grand finnon-alcoholic ale! You can serve them directly in their cups, which is the easiest and most common method. For an extra touch of flair, you can carefully unmold them onto a platter. To do this, dip the bottom of each cup in warm water for a few seconds, then invert onto a serving dish. Garnish with a dollop of whipped cream and a fresh blueberry for the ultimate patriotic presentation. These Jello shots are best served cold and are sure to be the talk of your 4th of July party. Enjoy the cheers and compliments as your guests marvel at these delicious, festive creations! They’re the perfect way to add a fun, flavorful, and visually stunning element to your holiday celebration.
Conclusion:
There you have it – a surefire way to wow your 4th of July party guests with a stunning and delicious presentation! This recipe offers a delightful combination of festive flavors and visual appeal, making it the perfect centerpiece or crowd-pleasing appetizer for any Independence Day celebration. Its versatility means you can adapt it to suit your preferences and dietary needs, ensuring everyone at your gathering can enjoy a taste of this patriotic delight. I truly encourage you to give this a try; the smiles and compliments you’ll receive will be well worth the effort!
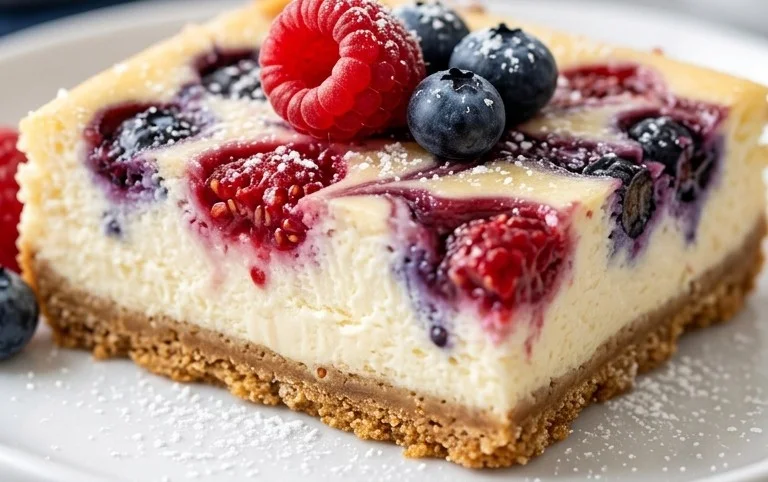
For serving suggestions, consider presenting these delightful bites on a tiered stand for an impressive display, or arrange them artfully on a platter alongside other classic BBQ fare. They also make fantastic individual appetizers, served in small cups or wrappers. When it comes to variations, don’t be afraid to get creative! Swap out the berries for other seasonal fruits like peaches or nectarines, or introduce different cheeses like goat cheese or feta for a tangy twist. You can also add a sprinkle of fresh herbs like mint or basil for an extra layer of flavor.
Frequently Asked Questions:
Can I prepare these ahead of time?
Absolutely! Most of the components can be prepared a day in advance. The fruit can be washed and sliced, and the cheese can be cut. Assemble just before serving for the freshest look and taste. This is a great tip to reduce stress on the day of your party!
What if I have dietary restrictions?
This recipe is quite adaptable. For a dairy-free option, consider using a dairy-free cream cheese alternative. For those avoiding gluten, ensure your crackers or bread base are gluten-free. The fruit itself is naturally gluten-free and dairy-free, making it a great base for many diets.
How can I make the presentation even more eye-catching?
Consider using cookie cutters to create fun star shapes from cheese slices. A drizzle of honey or balsamic glaze can add an extra touch of elegance and flavor. For a truly patriotic touch, arrange the fruit in a flag pattern!
Wow Your 4th Of July Party Guests, One Pin At A Time
Impress your guests with these vibrant and festive blue Jello shots, perfect for any patriotic celebration. Easy to make and a crowd-pleaser!
Ingredients
-
½ cup of UV Blue Raspberry vodka
-
One 3-ounce box of Berry Blue Jello mix
-
1 cup of boiling water
-
½ cup of cold water
-
½ cup of clear spirits (like triple sec or white rum)
-
Optional: 1 tablespoon of granulated sugar for extra sweetness
Instructions
-
Step 1
In a medium bowl, combine the Berry Blue Jello mix with the boiling water. Stir until the Jello powder is completely dissolved. -
Step 2
Stir in the cold water and the clear spirits until well combined. -
Step 3
If desired, stir in the granulated sugar until dissolved. -
Step 4
Carefully pour the mixture into small, individual cups or shot glasses. -
Step 5
Refrigerate for at least 2-3 hours, or until firm and set. -
Step 6
Serve chilled and enjoy responsibly!
Important Information
Nutrition Facts (Per Serving)
It is important to consider this information as approximate and not to use it as definitive health advice.
Allergy Information
Please check ingredients for potential allergens and consult a health professional if in doubt.